|
|
Part 2. SQLiteDB Integration with Node-RED. Execute SQL StatementsNode-RED is an awesome software allowing to use flow based programming with IOT. While being easy to work with, Node-RED does not offer a persistance layer out of the box. This is where SQLiteDB being an online databse as a service comes into help. This page describes how to setup Node-RED to work with SqliteDB. This is part 2 of the integration documentation with Node-RED. For part 1 click the following link: Part 1 SQLiteDB provides easy and conveninent API interface to quickly execute SQL statements on databases. Using SQL statements you can: create and delete tables; and insert new, select, update and delete existing records in tables. Note. Before you begin make sure you have setup your SQLiteDB database, and have noted down the API URL and API Access Key for your SQLiteDB database. All of these are provided when you create a new SQLiteDB database. PrerequisitesFirst we must create a new table to hold the data. Using the SQLiteDB admin panel open the admin panel for the database:  Using your database admin panel create a new table called "nodered". The table will have the following filds: "Id" (autoincremented), "FirstName" and "LastName" 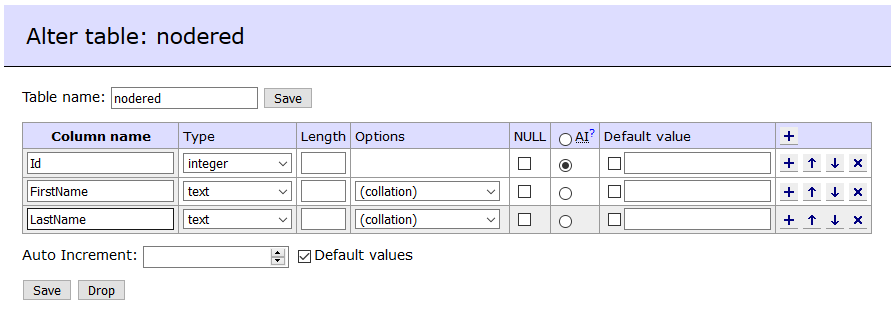 1. Node-RED. Insert Records in SQLiteDB Using SQL StatementsOpen your Node-RED editor and create the following three nodes in a new or existing flow:  Double click the functions node to open the settings pane. Insert the following code in the functions node: Language: Javascript Double click the the HTTP request node to open its settings screen: 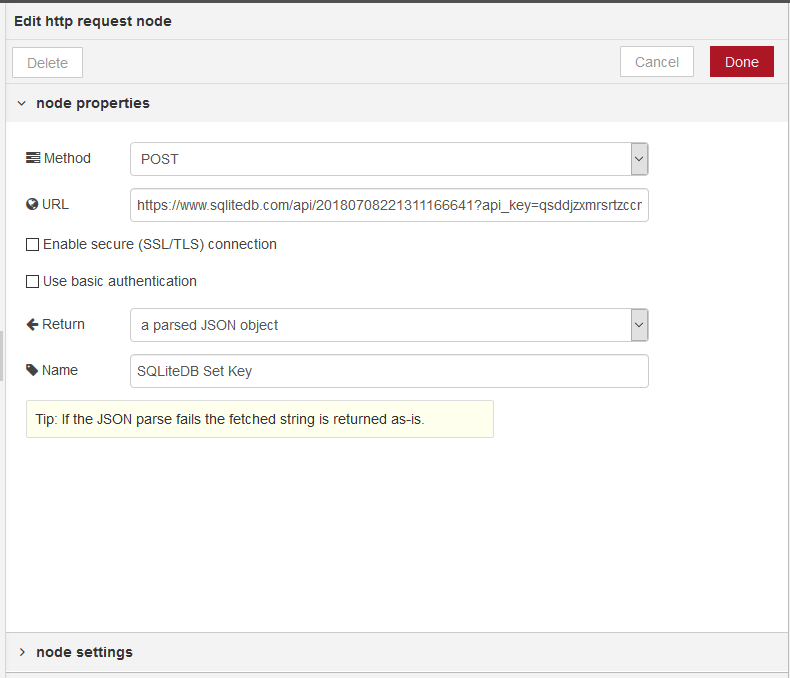 To test click on the timestamp node, and check the debug pane for the result. 2. Node-RED. Select Records in SQLiteDB Using SQL StatementsOpen your Node-RED editor and create the following three nodes in a new or existing flow:  Double click the functions node to open the settings pane. Insert the following code in the functions node: Double click the the HTTP request node to open its settings pane: Language: Javascript To test click on the timestamp node, and check the debug pane for the result. |